There are two ways of optimizing images in Photoshop.
- Single Compression
- Bulk (Batch) Compression
Single Compression
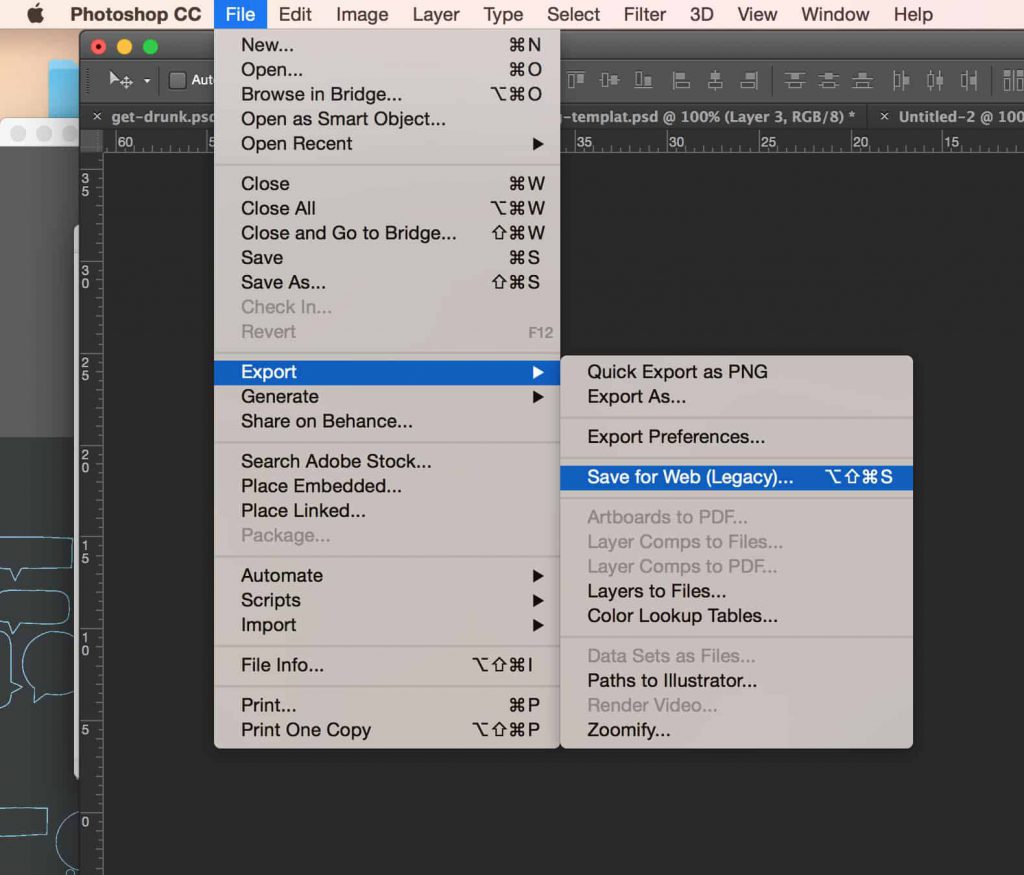
- Open the images you want to optimize and hold down
- Ctrl + Shift + Alt + S in Windows or
- Cmd + Option + Shift + S in Mac. This should open the save for web option. Alternatively, you can go to file -> export -> save for web.
- Select Jpeg on the top right, then increase and reduce the quality until you have the best look you want (you are looking for something that keeps the quality of the image but reduces the file size).
- You can also play with the width and height to make sure the image is not bigger than needed.
- Hit save.
Bulk Compression
Tip – Select all the images that are the same dimensions together in a folder. If you don’t have images that are of the same dimensions, then categorize them by landscape and portrait.
- We need to create an action for this to work.
- Press function and F9 on your keyboard for windows. We are basically opening the action panel in Photoshop.
- Hit the plus sign, give it a name and save it.
- Hit record and then follow the steps above for saving single images. This time close the image. You should save this in a new folder just to help you sort everything better.
- Hit the stop button.
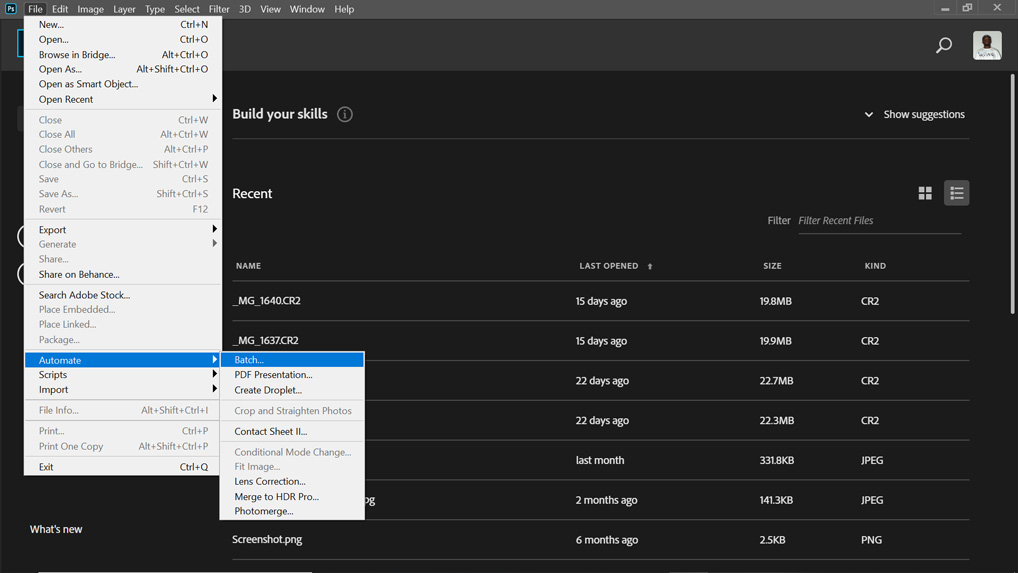
Now to automate the bulk images
- Click on file, scroll to automate then batch.
- Set -> select the folder you created the action into.
- Action -> Select the action you just created.
- Folder -> Select the sorted folder.
- Destination -> Save and Close.