Large image files are one of the primary causes of slow websites. A photograph exported directly from a camera can easily be 5-20MB. The same image optimized for web should rarely exceed 200KB — and often can be under 100KB without a visible quality difference at normal viewing sizes. Photoshop gives you precise control over this process, both for individual images and in bulk.
Before You Start: File Format
Use JPEG for photographs and complex images. Use PNG only when you need transparency. Use SVG for logos and icons where possible. JPEG at 70-80% quality in Photoshop’s Save for Web dialog produces files that are 60-80% smaller than uncompressed exports with no visible quality loss at screen resolutions.
Method 1: Single Image Compression
Step 1: Open Save for Web
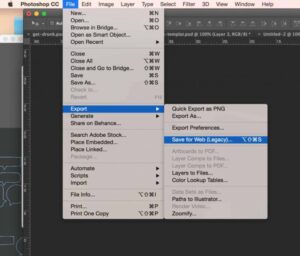
With your image open in Photoshop, use the keyboard shortcut: Windows: Ctrl + Shift + Alt + S | Mac: Cmd + Option + Shift + S. Alternatively: File > Export > Save for Web (Legacy)
Step 2: Select format and quality
Choose JPEG from the format dropdown. Reduce the Quality slider until you see a visible difference in the preview, then bring it up slightly. For most web images, this is between 60-80. Check the file size shown in the bottom-left of the preview panel — target under 200KB for body images, under 400KB for hero images.
Step 3: Set dimensions
Set the width to the maximum display width on your site — typically 1200-1600px for full-width images, 800px for blog post body images. There is no value in uploading a 4000px-wide image that will be displayed at 800px.
Method 2: Batch Compression
If you have a folder of images to optimize, Photoshop’s batch processing (Actions + Automate) handles them automatically.
Step 1: Organize your images
Group images by their target dimensions before batching. Batch actions apply the same settings to every file, so group landscape images together and portrait images together.
Step 2: Create an Action
- Open the Actions panel: Window > Actions
- Click the folder icon to create a new Action Set, then + to create a new Action. Name it descriptively (e.g. “Web 1200px JPEG 75”)
- Click Record, perform the single-image steps above, click Stop
Step 3: Run the batch
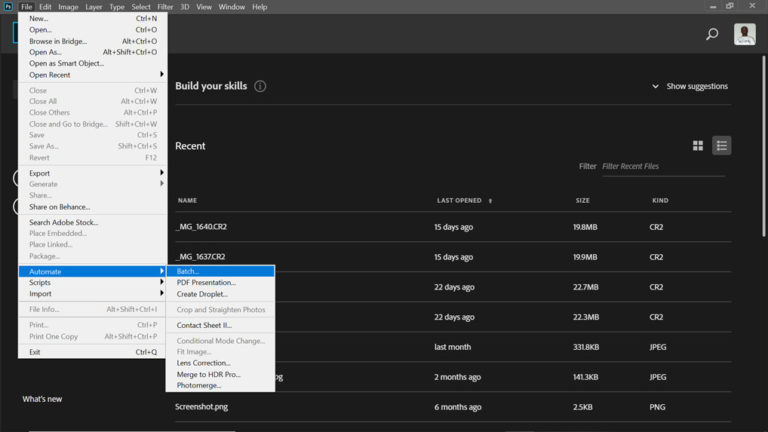
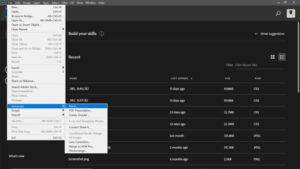
- Go to File > Automate > Batch
- Set your Action, Source folder (your images), and Destination folder (new folder — do not overwrite originals)
- Click OK
Alternatives to Photoshop
- Squoosh (squoosh.app) — free, Google-built, excellent quality control with WebP export
- TinyPNG / TinyJPEG (tinypng.com) — free drag-and-drop compression
- ImageOptim (Mac) — lossless compression for PNG and JPEG
For WordPress, plugins like Smush or ShortPixel automatically optimize images on upload.
We handle image optimization as part of every site build — start your project.